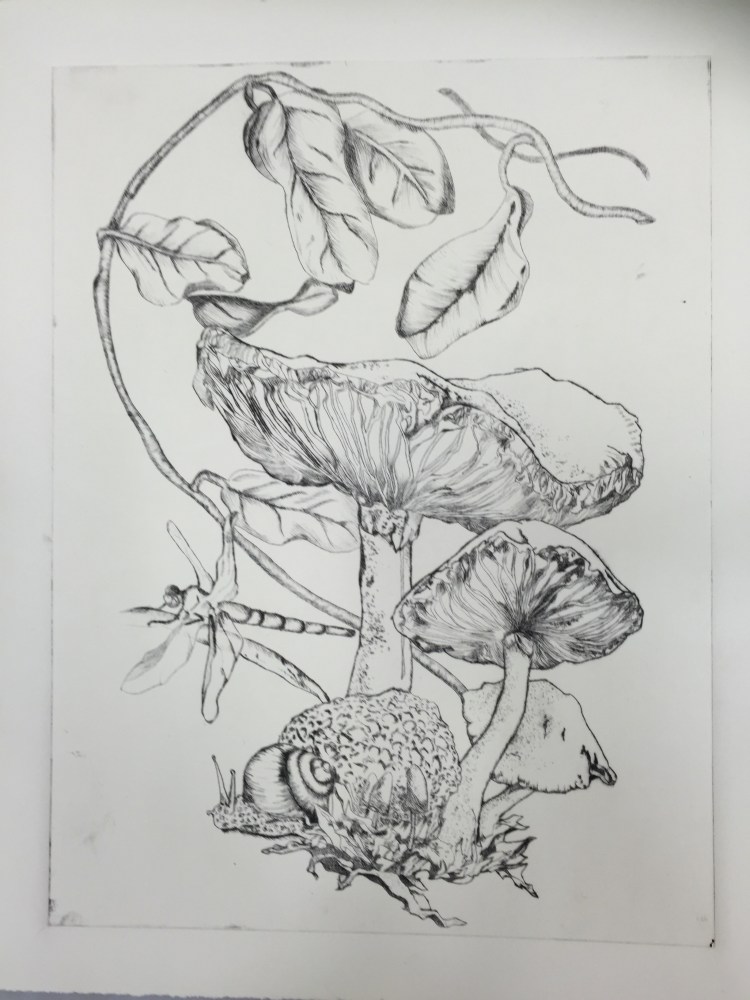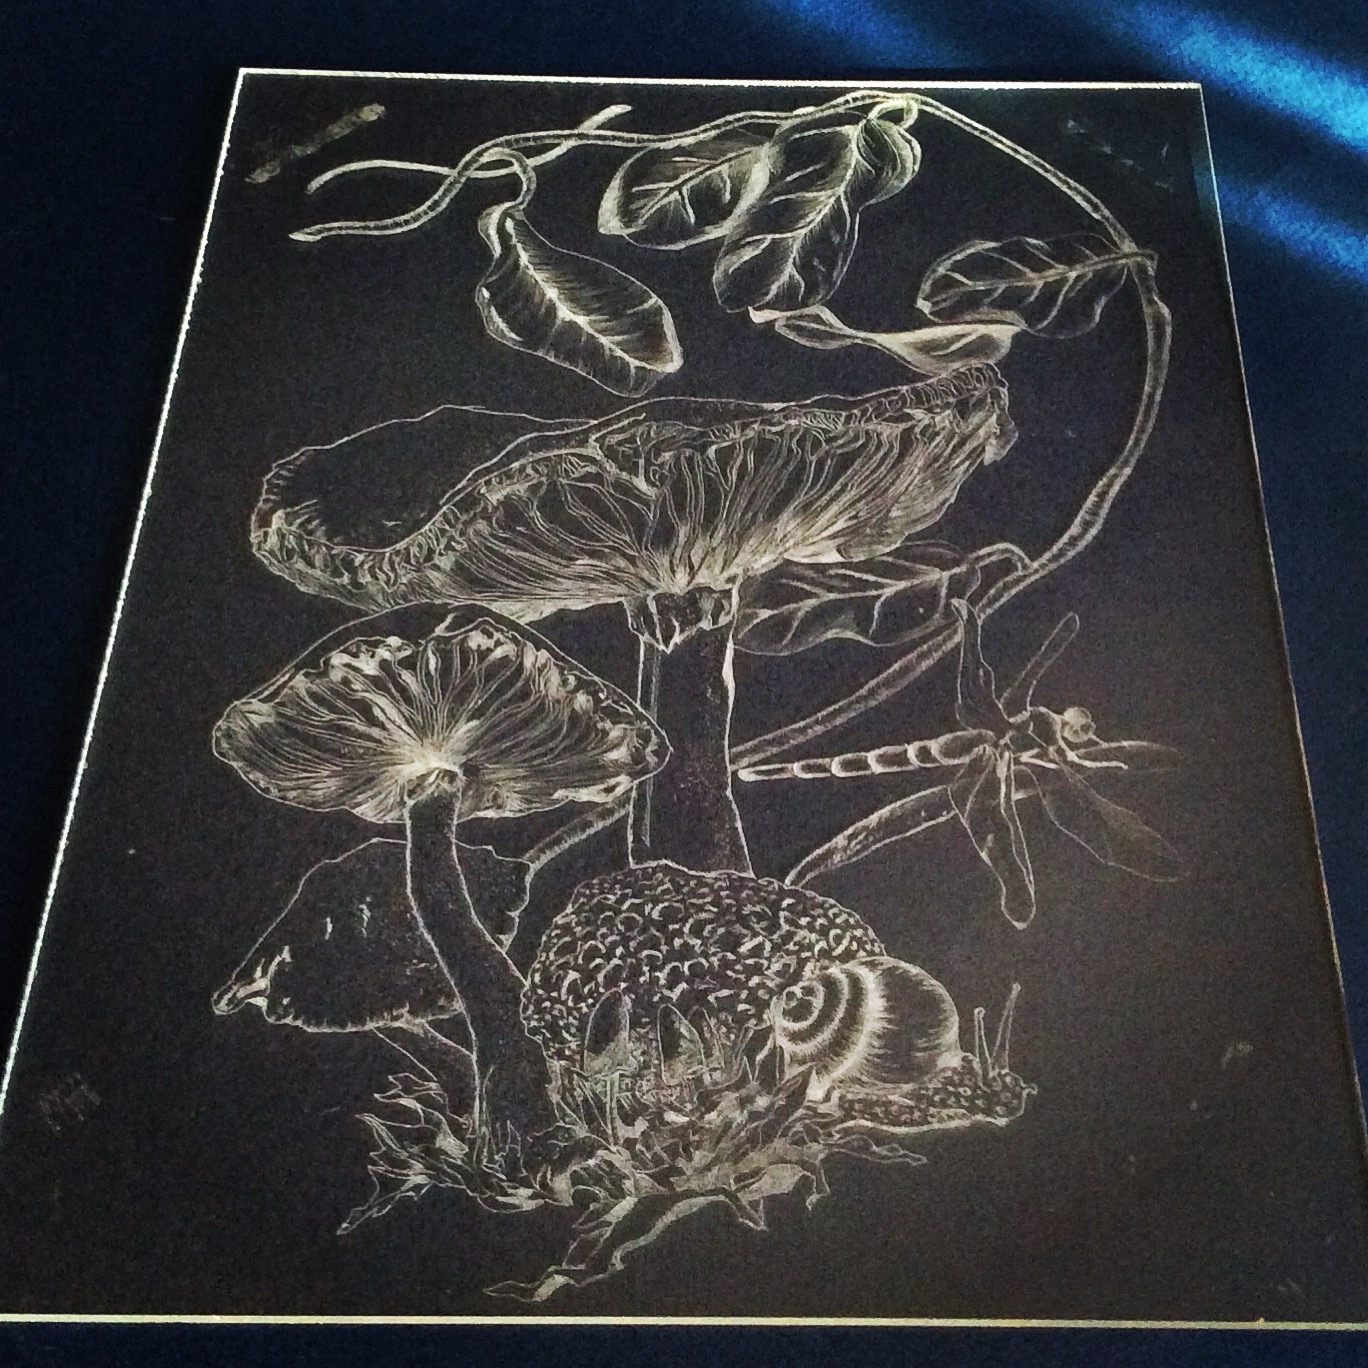

More and more I am learning the the possibilities of printmaking are endless. My first project with an Intaglio process was with a drypoint technique on an acrylic plate. The print design is etched into the acrylic plate with an etching needle.
I enjoyed the process of the etching process for this technique. As will all of the print techniques I have been experimenting up to this point, the carving and etching process has a required skill to create the printing plate. The etching needle took a little practice to learn the right pressure and even momentum to prevent any slips of the etching needle. This technique reminded me of the same principle as pen and ink. To get a more solid shading you need to use a more dense cross-hatching. I also found a piece of dark paper behind the plate very helpful to test check the etching densities.

I was happy with the results of the etching. It was a very challenging etching. The mushroom design was create through collaging from several illustrations. I not only liked the texture and shapes of the objects for the etching but thought this design would maximize what I could learn from etching these detailed objects. It ended up being a cool image.
After completing the etching, it was time to prepare for a test print. For this process, the paper has to be soaked in water prior to running through the printing press.
The plate is then covered with intaglio ink. It is crucial to get the ink into the etching lines evenly on the plate. The excess ink is then removed through a wiping process. I did find that the wiping of the ink is an art in itself. Keeping just the right amount of ink on the plate was challenging. In addition to be a challenging process, I found it to be a challenge to keep the ink where it belonged. I found ink in places that I have no idea how it got there. All part of the process. After wiping the plate off to the press we go.
To get ready to run the plate through the press, the paper is then removed from the water. The paper needs to be damp without excess water droplets. I removed it from the water tray and then blotted with towels. The inked plate and paper are placed on the press with the plate face up. With this process, it is critical that the plate be placed below the paper. The pressure of the press and the damp paper draws the ink out of the etching onto the plate.
This was a great project. I like the entire process. I think my favorite part was the etching of the plate. I think the least favorite would definitely be the wiping of the plate, with more experience that might change.
Looking forward to the next etching projects. Moving on to acid etchings on copper.