It has been a while, how easy time slips away from you. Back in the printing class since the end of August and here we are almost at the end of October. I took a good break over the summer got some art workshops in, took an amazing trip to Greece an Italy. An art lovers dream vacation for the big 5 0.

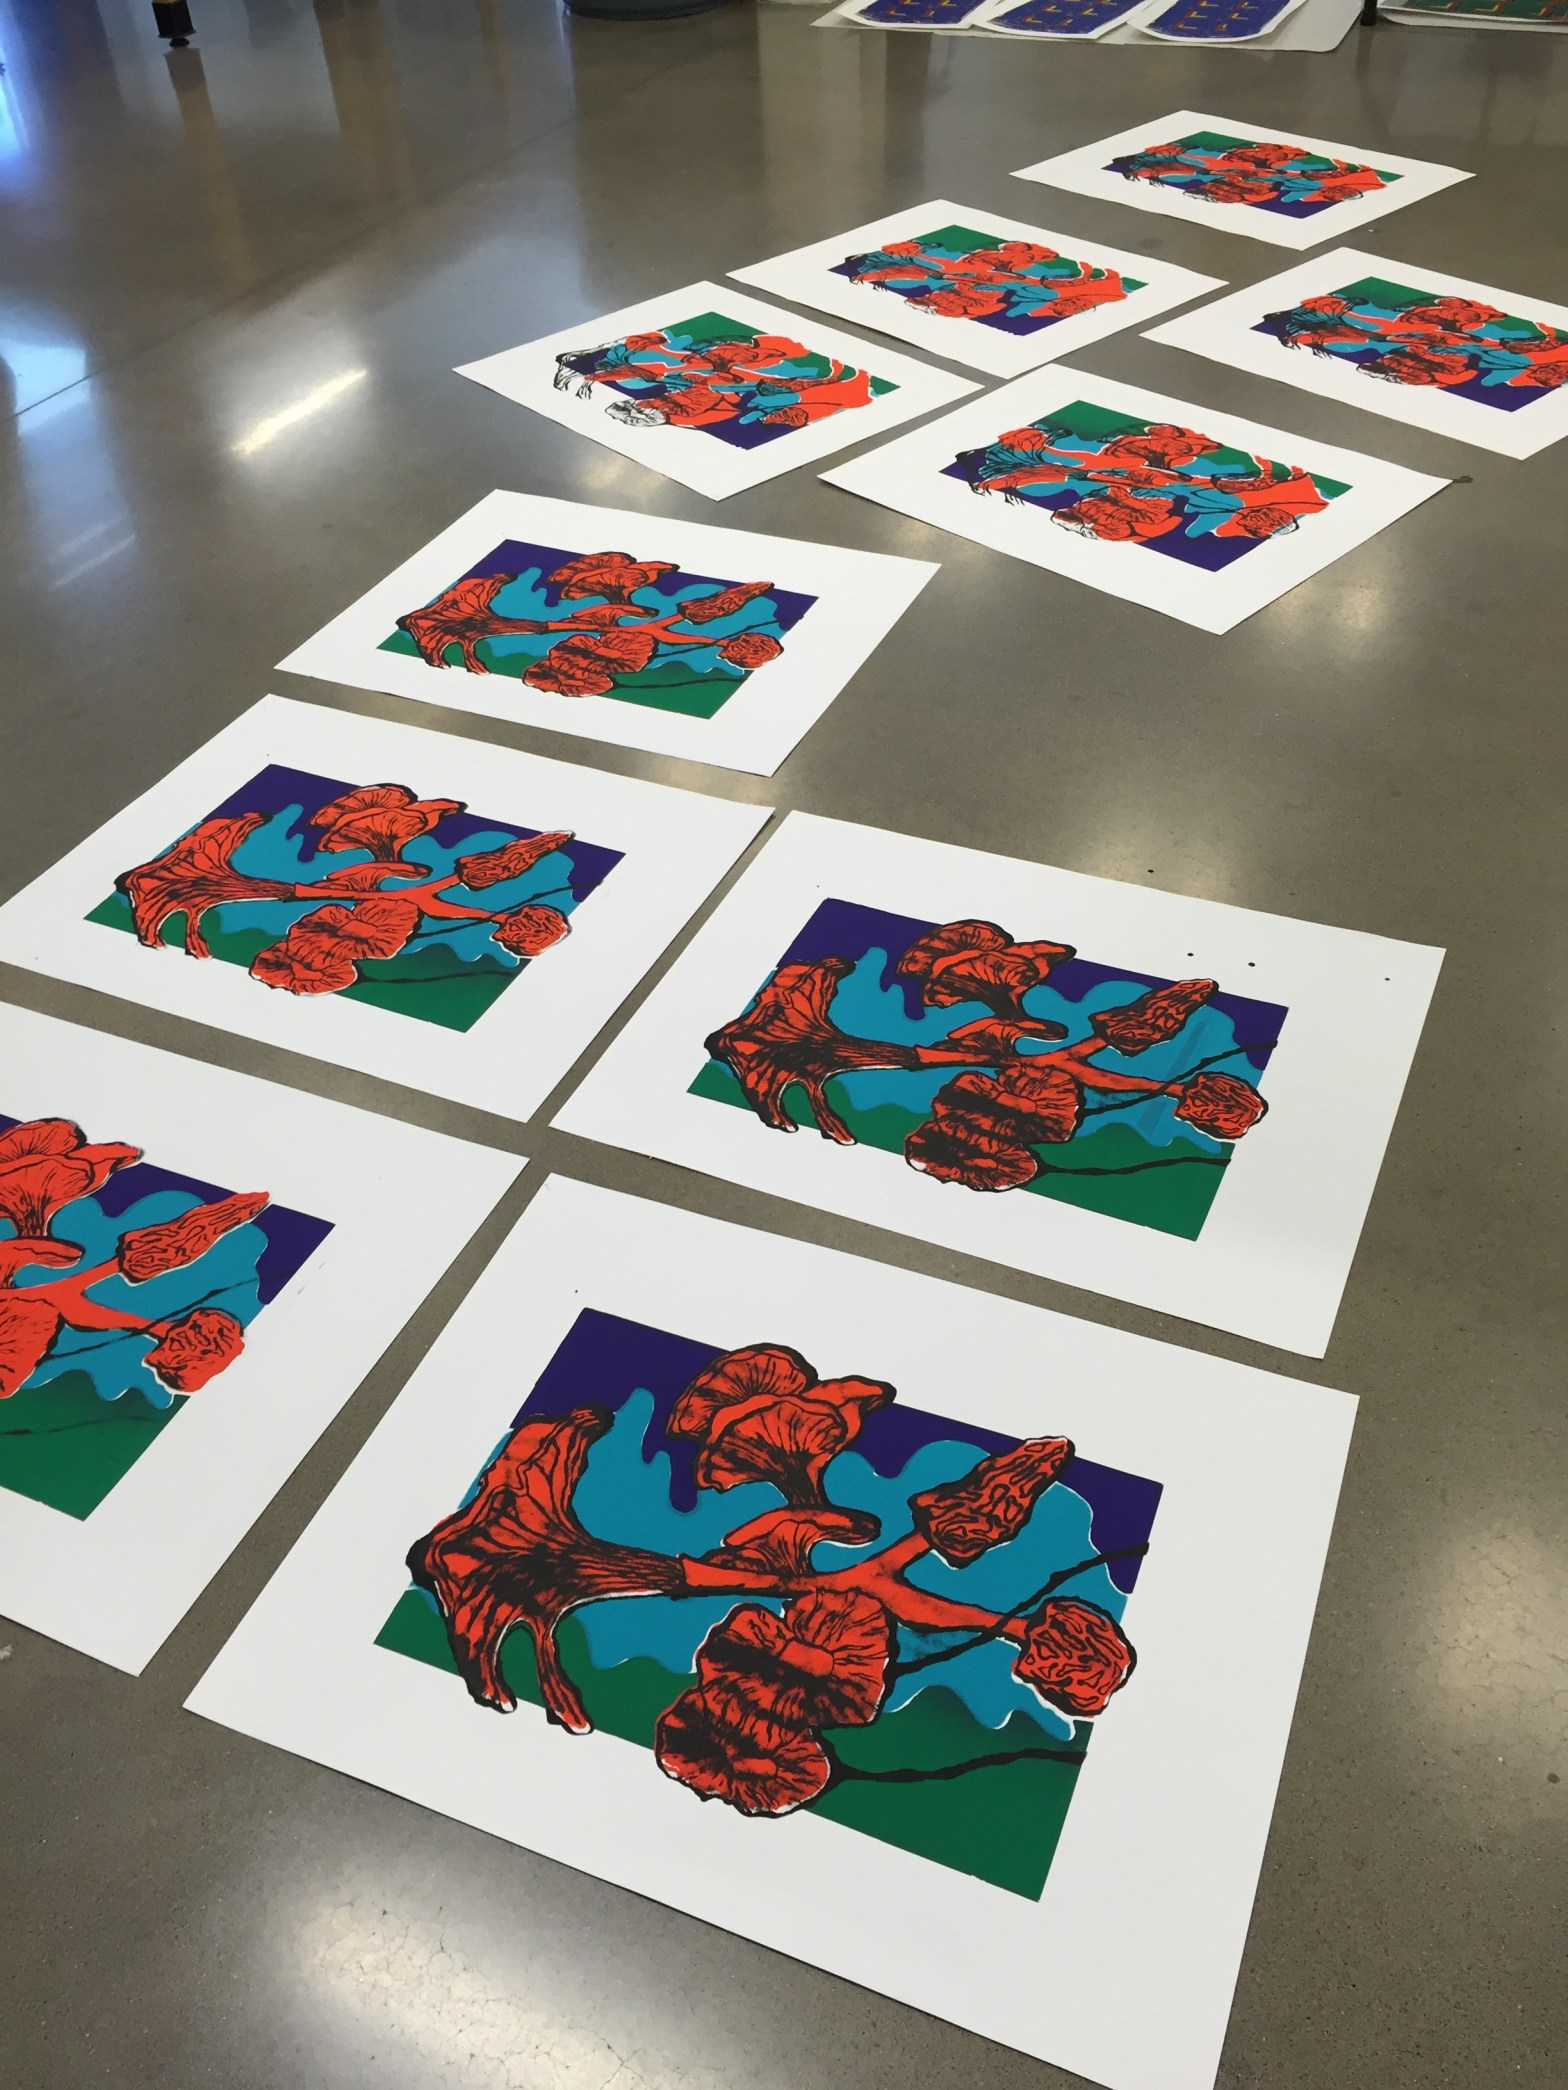
This semester I decided to continue my printmaking escapades. The class this semester covers mostly screenprinting and lithography. The first project is a minimum four color screen print with paper stencils. The subject matter was open and I chose some biomorphia mushrooms for the subject matter.
The first step was to get the screen setup and prepped with the design layout. The screen was setup with blockout tape and the screen was mounted to the printing block with hinge clamps. An acetate sheet was attached to the printing block to help with setting up the registrations for each consecutive print runs. Registration clips were used to set the paper registration. I had my doubts about this little metal clips in the begining but they made it very easy to set the registration.

The next step was to cut out paper stencils. The decided to go with a three color background with an organic feel. The colors need to match up and I decide to cut out the stencils using an overlapping technique to get the colors to align and butt up to each other. This challenge with this technique would not present itself until after the first colors we printed.
In the first print run I was able to print the green and purple for the background. This was a challege using the two colors along with it been the first time I had used the squeegee. It took careful placement of the ink as well as intentional use of the squeegee.

For the second color run, after over laying the 2nd stencil the importance of the stencil overlapping technique. There were some place where the stencil was off slightly and some minor adjustments were made to the stencil. The cyan color was run for the center background. There were a few overlap and stencil alignment problems. I decided to keep the registarion and make adjustements in the final two stencils to correct any alignments issues.
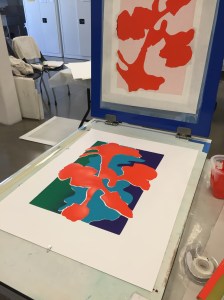
The next run was the background. For the background I chose a vibrant orange. Again, some adjustments to the stencil we made for the backgound run. There was some space left around the background and overall background and the background of the facoal point. The intent is for the final color matrix to come in and finish the print.

The first thought for the matrix was to do an acetate stencal. I thought it would be more durable than a paper stencil with some of the delicate shapes in the matrix. As I began to cut out the final matrix, I had this epiphone that ALL the shapes for the matrix were floating shapes and I would not be able to cut out the shapes and get the effect I was looking for. I contemplated a few ideas to get the desired look for the design and decided to go with a drawing fluid and screen filler approach. The drawing fluid gave me the intricate

matrix I was looking for. The first step was to add the drawing fluid to the screen and squeegee screen filler over the drawing fluid. This was going to prove to be more challenging that I originally thought. When rinsing out the drawing fluid, the screen filler blew out. To correct this, screen filler was manually brushed on around the outter edges of the mushroom shape. I chosed to leave the screen filler on the interior of the shapes as they were. It ended up giving me some tonal effects on the interior of the mushrooms. In hind site, I wish I would have made the tonal variations from the screen blowout look more intentional. There are a couple of places that are distracting from the focal point of the piece.

The final step for the project was to try experimental approach to the print. I decided to rotate the registration 180 degrees and print the matrix in reverse. I was happy with the original design but the experimental print doesn’t quite work visually. Still considering some additional things to try to make it work as an image.

Overall, this was a great project for an introduction to screenprinting. I learned a lot of technique things on this projet. The importance of the alignment of the stencils. I think it would have been better to cut stencils after each successive print run so adjustements in the stencils would would have been easier to make and required less backtracking. Techniques for using the squeegee, the pull and flood, and different techniques for registration.
